Today I’m going to show you a very simple, cheerful design for summer. I wanted to take a little break from fondant today and so we are working with two of my favorite things–buttercream & chocolate candy coating! ;0)
I started out by frosting a 6″ cake with buttercream frosting (tinted Americolor Sky Blue). Then…the fun part…
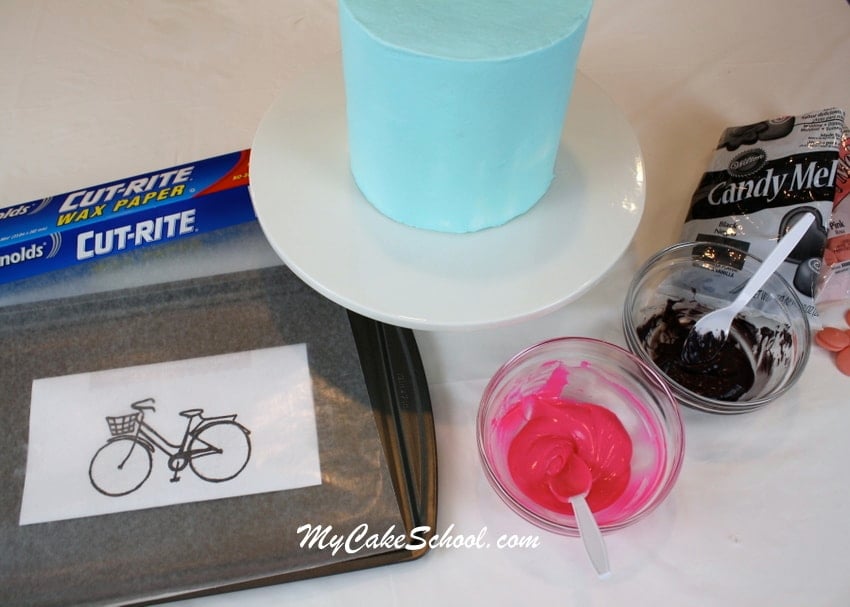
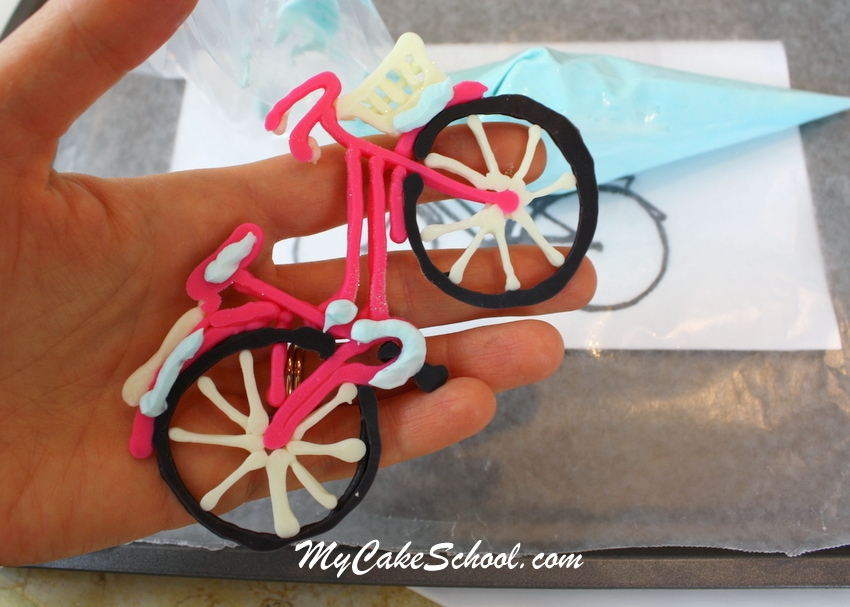
The main focus of our cake will be our chocolate bicycle. Use whatever colors you’d like–our bike is piped with pink, black & white candy coating. You can find colorful bags of candy coating (Wilton Candy Melts for instance) in your favorite cake supply shops–but for our bike, we deepened our shade of pink candy coating with Wilton Pink Candy Coloring. (*You cannot tint candy coating/candy melts with the ordinary coloring gels that you would use with frosting or fondant. The chocolate will seize. It needs to be candy coloring, which is oil based.) -
For your template, you can draw your own bicycle, print one off of clip art online, or Click HERE to use mine. You’ll want to tape your template to a cake board or cookie sheet, and then tape a piece of waxed paper or parchment on top of it.
Next, melt your candy coating & put into your piping bags.
Ready? Here we go!
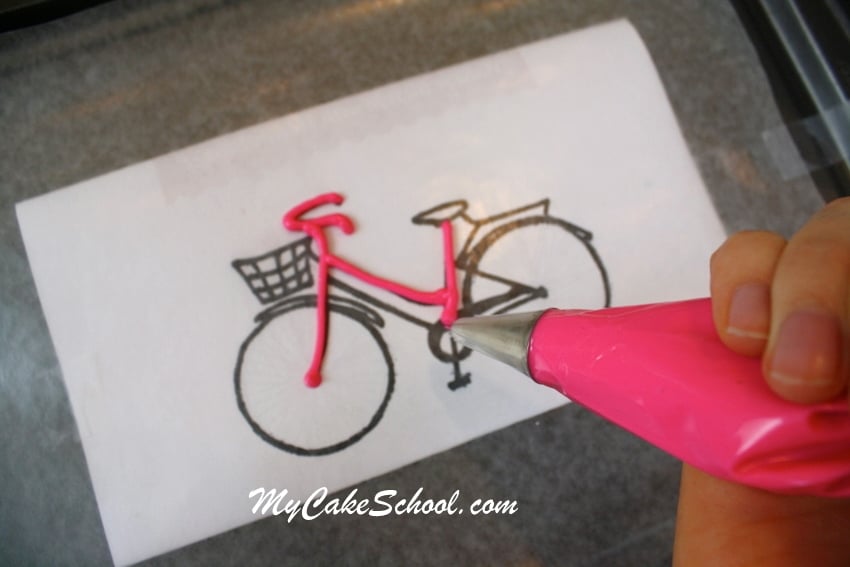
Here I am, tracing my bicycle. I’m using a Wilton 4 tip. (If you’d rather skip the piping tips altogether, you can just snip the ends of your piping bags. The tips ensure a nice round opening, the only drawback is cleaning out the chocolate later ;0)
After outlining the bicycle once, I went over it once again. This is optional, but the thicker your chocolate decoration, the more sturdy it will be.
I used silver dragees in the center of each wheel. You can see that my bicycle is not perfect…but still very lovable ;0) — I did mine all in one sitting, but if you’d rather chill the cookie sheet/bicycle in the freezer for a few minutes in between color changes, that works very well too.
Once your piping is finished, place in the freezer for a few minutes or just until firm. (It would firm up at room temperature too, but it would take longer & would be more fragile when placing on the cake. 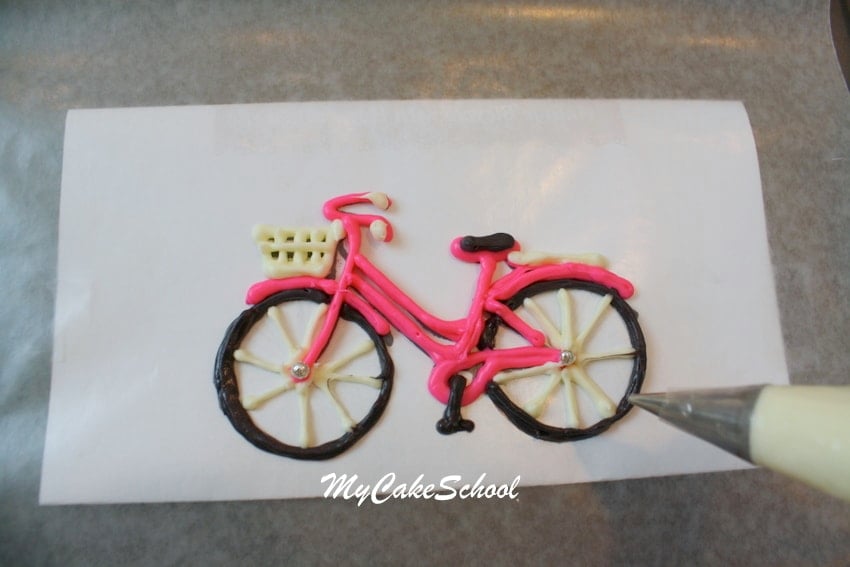

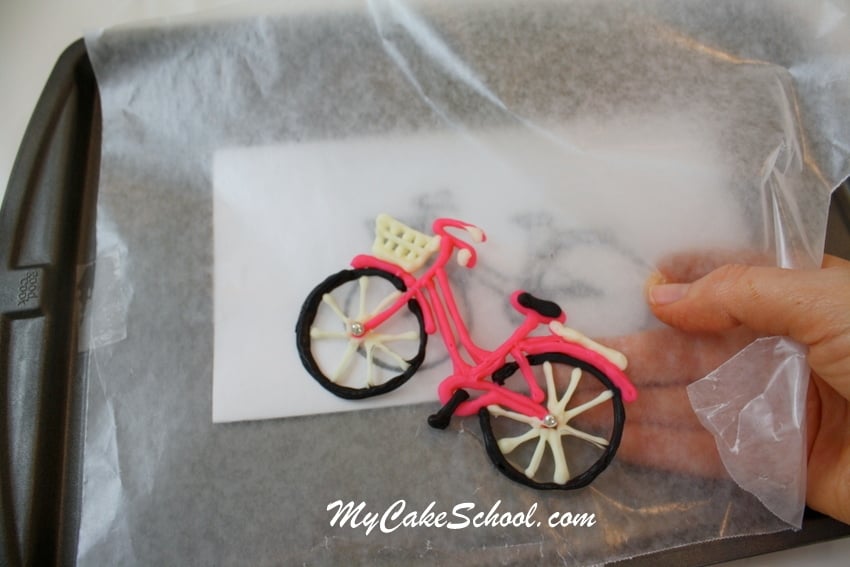
Once the bicycle is nice and firm, run your hand gently beneath the waxed paper to release it.
You’ll notice that your bike has a smooth side and a bumpy, more textured side. Choose your favorite and then flip it over to apply dots of buttercream here and there to the back. It’s best to handle your chocolate pieces while still cold.
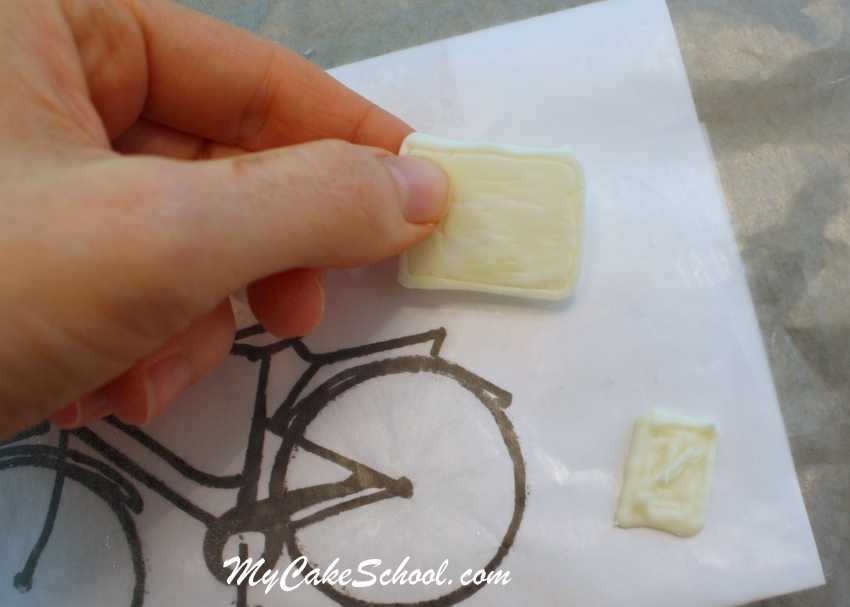
I decided that I wanted a chocolate present for the back of the bike. Since I didn’t think of this earlier, I’m going to have add it to the bike later with a bit of chocolate…but for you, I’ll go ahead and incorporate it into the template ;0)
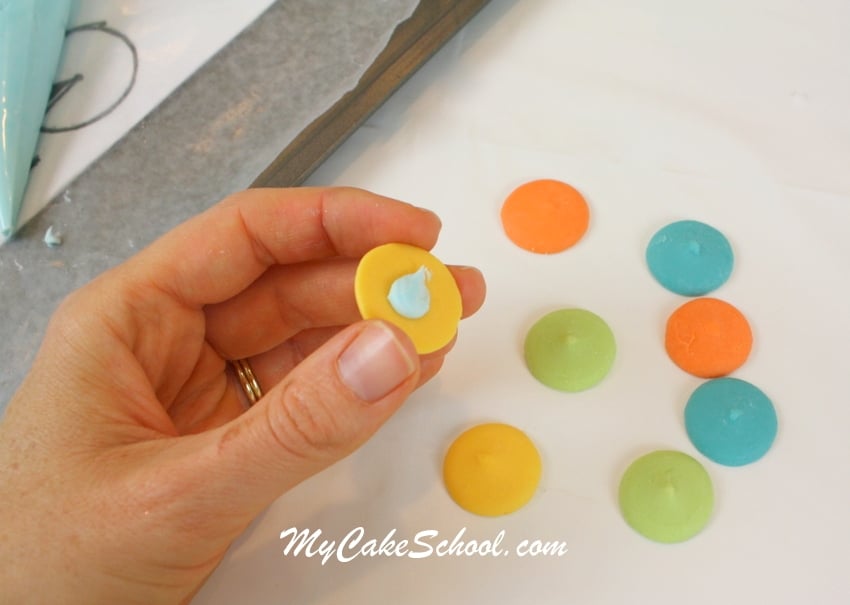
Now, let’s talk balloons! We considered tinting buttercream lots of different shades so that I could pipe on buttercream balloons. Tinting buttercream is not my favorite though, and it just so happens that I have several different shades of Wilton Candy melts. These became my balloons–hooray! Of course, if I didn’t have these on hand, I would have made them in buttercream.
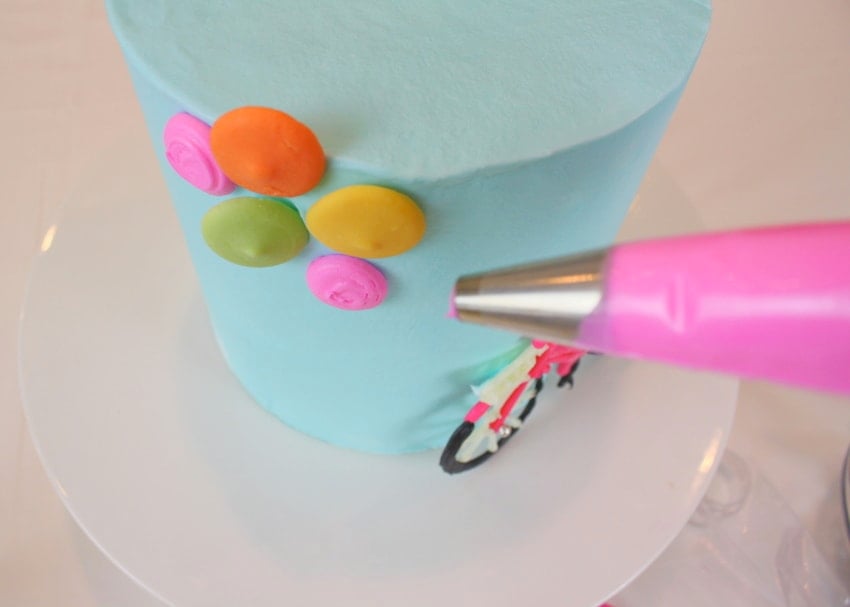
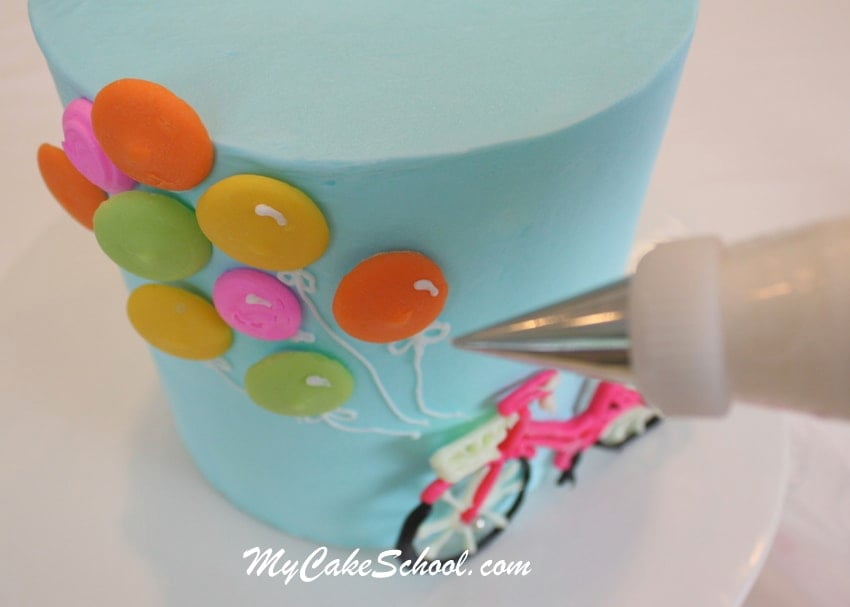
I used a dot of buttercream to apply the chocolate balloons to the cake. Some balloons had more buttercream on the back than others, to add a little depth and movement.
While most of my balloons are candy melts, I snuck in a couple of hot pink buttercream ones too. These are piped with a Wilton medium sized tip-12.
I added buttercream strings using my Wilton Tip 1… Things are starting to come together!
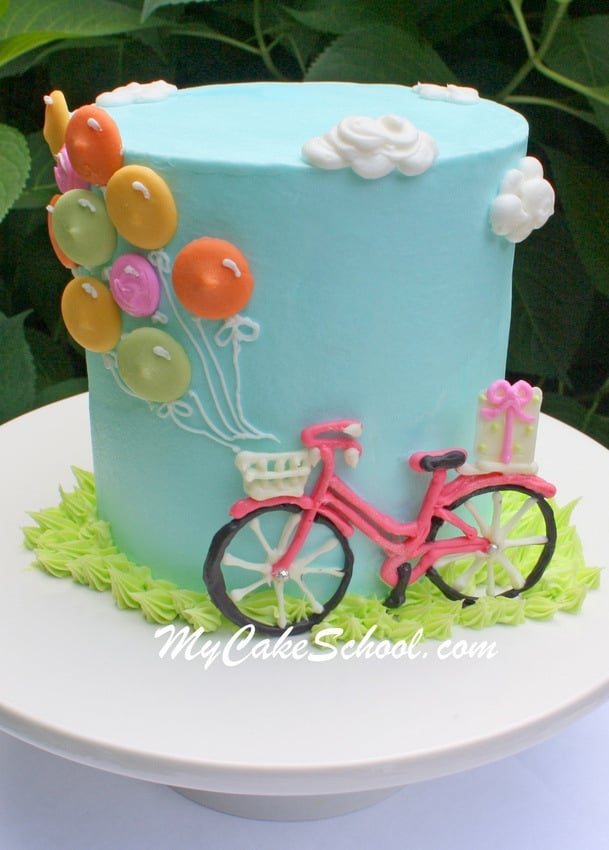
I added a few puffy clouds with my Wilton 12 tip and some grass with my Wilton 21 star tip (grass is tinted with Americolor Electric Green.) -
That’s all there is to it! I think that the cake turned out really simple & sweet. The chocolate present on the back is decorated with buttercream dots & bow. I hope you like it– if you ever give it a try, we would LOVE to see.
Aucun commentaire:
Enregistrer un commentaire
Remarque : Seul un membre de ce blog est autorisé à enregistrer un commentaire.