source:
http://www.threelittleblackbirds.com/2011/12/yellow-butter-vanilla-cake/
(
Makes 3-9 inch rounds, one half sheet cake, or 3 dozen cupcakes. Recipe can be scaled in half if necessary)
Printable Recipe
339 g (1 ½ cups) unsalted butter, softened
452 g (2 ¼ cups) superfine or bakers sugar (I use organic cane sugar ground fine in a food processor)
5 large eggs
room temp
1 tablespoon pure vanilla extract
2 teaspoons sweet sherry cooking wine or madeira
405 g unbleached all-purpose flour – (I use organic unbleached soft wheat flour)
25 g potato starch (if using bleached a/p flour or cake flour – omit this and add 25 g more flour)
1 tablespoon baking powder
½ teaspoon baking soda
3/4 teaspoon kosher salt
296 ml (1 1/4 cups) buttermilk
8 ounces (1 cup) sour cream
Instructions:
Turn oven on to 350 degrees. Place oven rack in the middle of the oven.
Generously butter the pans then place parchment paper (cut to fit) on the bottom of the pan only. BTW: I am making a 6 inch, 3 layer cake for this blog which will leave lots of batter left over for cupcakes. For most of my cakes, I bake in 3 inch high cake pans and tort them (cut them into layers) after they are cooled and semi-frozen. For this recipe, however, you want the shortest amount of baking time to keep the cake moist and tender. For this reason, I bake this cake in single layers, which means more pans to butter and parchment. In the end, the extra work is definitely worth it. Alternatively, you can also bake this recipe in a half sheet pan and then cut your layers out of that (works well for smaller cakes), and then you are only dealing with one pan.

To cut the parchment paper to fit: Place the cake pan on top of a sheet of parchment paper, using a pencil draw around the edge of the pan. Cut out with scissors and place the paper pencil side down into the buttered pan. Set the pan(s) aside.
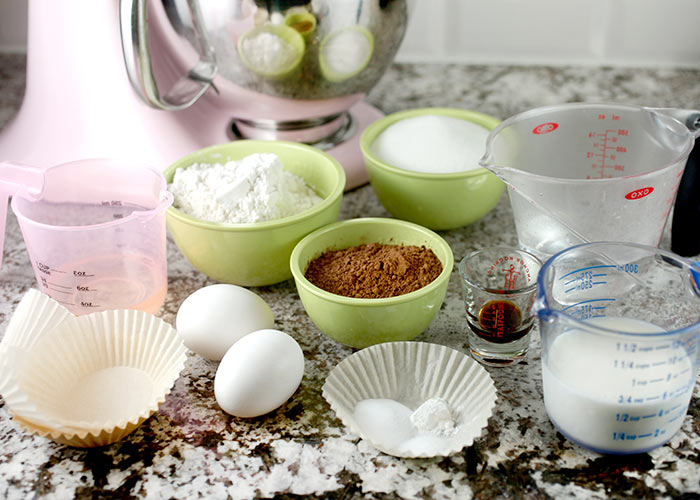
Have all of your ingredients ready. Remove the sour cream and buttermilk from the fridge and set on counter to warm up just a bit. Make sure your butter is room temperature and measure out amounts on a scale or by volume.
It’s very important that your eggs be room temperature so they don’t turn the butter cold when incorporated and produce lumps (which can cause large air bubbles in your cake). I never take my eggs out to warm up before hand however. Instead, I remove my eggs cold from the fridge, place the eggs into a bowl and cover with warm water while I prepare the batter. By the time I need them, they are room temp.
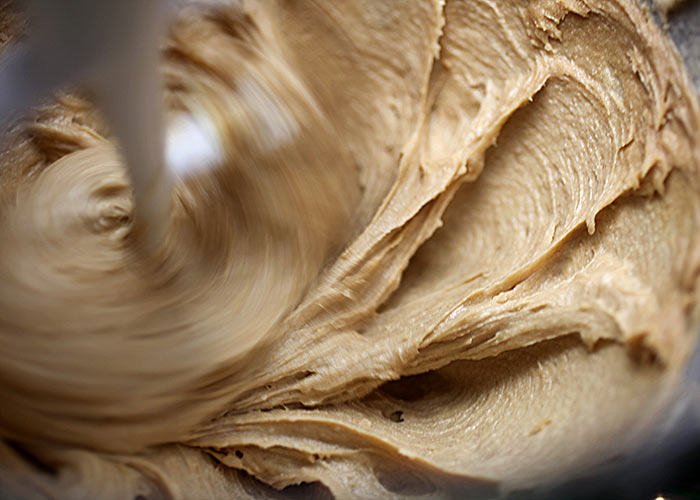
In your mixer fitted with the paddle attachment, beat the butter and the sugar together.
TLB Tip: Don’t rush this important step. I usually mix for a minimum of 5 minutes. Start on low speed until the butter and sugar are well combined then crank the mixing speed up to medium high and let it go until light in color and very fluffy. You want to incorporate a lot of air here so that the texture of the cake will be light and airy. If you rush this, the cake will be dense and thick.
While the butter is beating, sift together the flour, potato starch, baking powder and baking soda into a bowl. Scoop most of the flour mixture back into the strainer and sift one more time. Add the kosher salt and set aside.
Add the sherry to the butter and sugar mixture and mix well, scraping the bowl as often as needed.
Next, add in the eggs one at a time, scraping the bowl often.
TLB Tip: When a recipe says to add the eggs one at a time, it really means one at a time. Again, don’t rush this. Add the egg and mix completely until no streaks of the egg remain. Stop the mixer and scrape the bowl and paddle down after each addition of egg. The eggs need their time to emulsify so they can build stability in your cake when baked.
Add the flour mixture to butter mixture on low speed alternating with the buttermilk (mixed together with the vanilla and lemon zest), starting and ending with flour.
TLB Tip: Now is the time to keep the mixer on low speed and never any higher. We want to keep the gluten levels as low as possible to keep the cake tender. Once the flour hits the butter, mix only until half way incorporated before adding the buttermilk. You will still see flour that hasn’t mixed in yet and that is okay because we will render that in the next step.
Remove the bowl from the mixer and scrape off any residual batter/flour from the paddle. Scrape down the bowl, add the sour cream and fold/stir in the sour cream by hand.
Keep mixing and folding until sour cream is completely mixed in and batter is nice and smooth, making sure to reach down to the bottom of the bowl with the rubber spatula and fold upwards.
Divide batter evenly among pans, lightly tap pans once against the counter to dislodge any large air bubbles and settle the batter.
Bake the cakes until the tops spring back just slightly when touched in the center and a toothpick comes out clean. About 20-25 minutes depending on your oven and cake size. Start testing for doneness 3 minutes before timer beeps and watch the cakes carefully. Do not overbake.
TLB Tip: When you can smell the delicious buttery aroma of these cakes baking, it’s time to start testing for doneness. Cakes will let you know, by smell, when they are done cooking. They might not always be done, and you can put them back in for a few more minutes and watch them carefully. But this way, you will not over bake them.
Cool cakes in their pans for 20 min (set a timer). After 20 minutes, cakes will still be warm to the touch, which is what you want.
Place a layer of plastic wrap over the cake still in the pan…
Place a cooling rack over the cake…
With one hand on the bottom of the cake pan and the other on top of the cooling rack, carefully invert the cake over to its bottom…
Carefully lift off the cake pan, and gently peel off the parchment paper…
Wrap the cake with the over hanging plastic wrap and then one more layer of plastic, being careful not to wrap too tight and cause the edges of the cake to be misshapen. Place cakes in the freezer while you clean up and prepare the frosting (this will make the cakes easier to trim, level, tort or shape).
If you will be leaving the cakes in the freezer for an extended time, wrap the cakes again in tin foil over the plastic wrap to prevent freezer burn. Cakes can be kept frozen for up to 4 months.
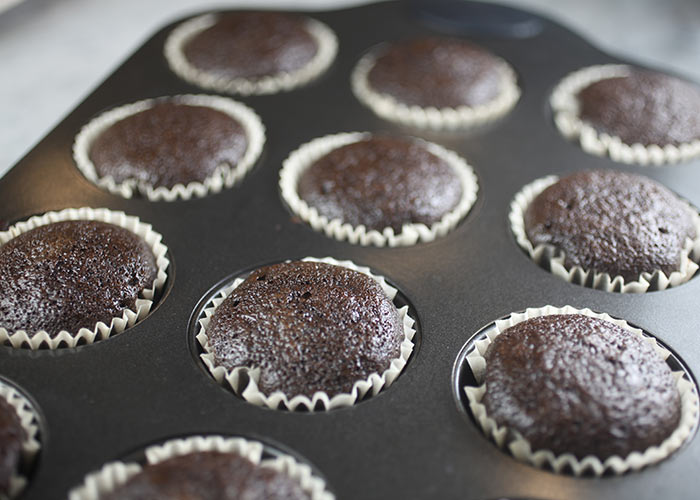
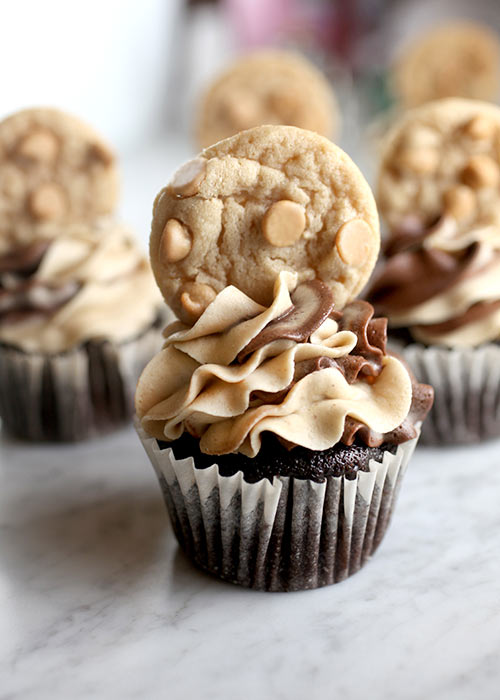
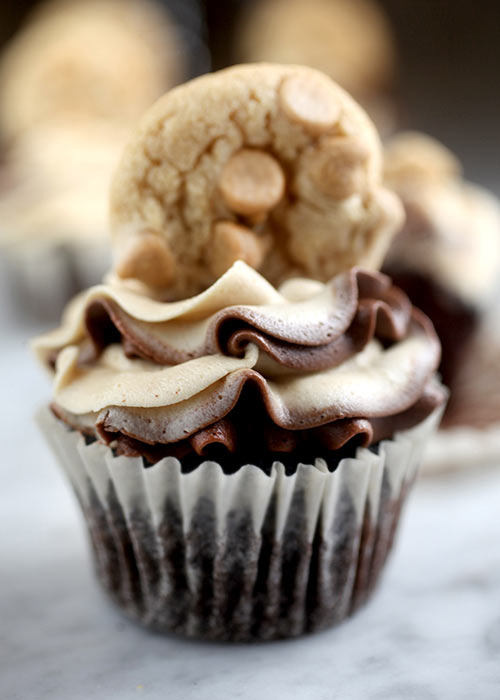
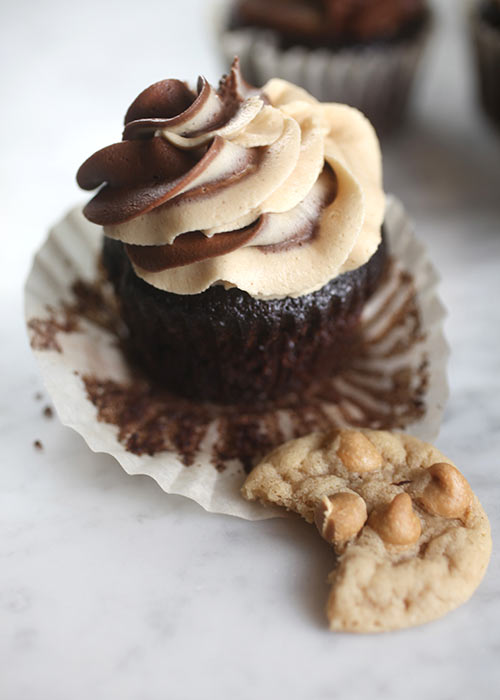
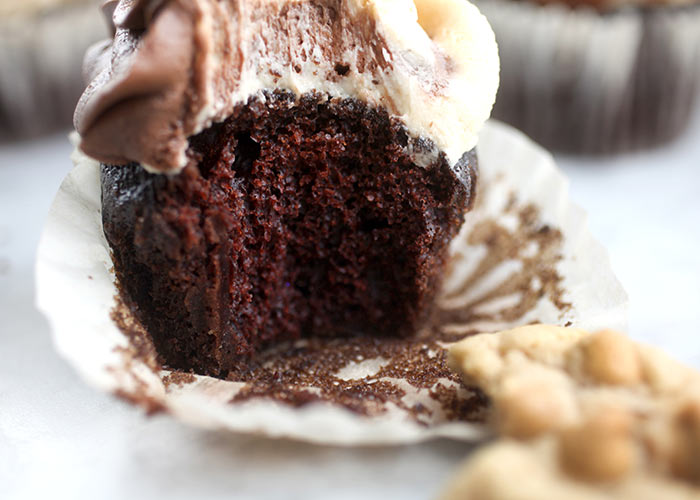
BTW: This recipe also makes fantastic cupcakes…
Light, fluffy, moist, buttery, tender…delicious!
FAQ: Is Potato Flour the same thing as Potato Starch? The answer? No!
Potato Starch is a very fine “flour” with a bland taste, that is made by removing the potato peel, made into a slurry and watery mix, then dehydrated to form Potato Starch. The Potato Starch is not cooked, thus it does not absorb much water.
Potato Flour is heavy with a definite potato flavor made from the actual potato including the potato skin and will absorb large amounts of water because it has been cooked and contains the peel. It is not used as main flour in baking as it would absorb too much liquid and make the product gummy.


