vendredi 6 décembre 2013

Triple Chocolate Ripple Joconde

source: http://cakecrumbs.me/2012/10/04/triple-chocolate-ripple-joconde/

Ingredients
Chocolate Ripple Cake
2 packets of Arnott's chocolate ripple biscuits
300ml thickened cream
1 tbsp dutch processed cocoa powder
1 peppermint crisp bar, finely grated
1 tbsp icing sugar
1 tsp vanilla essence
Cocoa Décor Paste
100g unsalted butter, room temperature
100g icing sugar
100g egg whites (approximately 3 large eggs), reserve egg yolks
85g cake flour

30g dutch processed cocoa powder 
Joconde Sponge
45g egg white (approximately 1 large egg), reserve egg yolk
5g caster sugar
40g almond meal
40g icing sugar
15g cake flour
15 unsalted butter, melted
Chocolate Mousse
1 tsp powdered gelatin
1 tbsp tepid water
1/2 cup (125ml) milk
175g milk or dark chocolate, chopped
300ml thickened cream
Chocolate Ganache
200g dark chocolate, chopped
100ml cream
20g butter, chopped
Method
Chocolate Ripple Cake
  1. Combine all ingredients except the biscuits in a bowl. Whip the cream to soft peaks. 
  2. To assemble to cake, place one biscuit in the centre of a cake board or serving platter, then place enough biscuits around it to form a complete ring of biscuits around your centre biscuit. Cover the biscuits with cream, and add another layer of biscuits. When placing the outer circle of biscuits, try to alternate the position of the biscuits between layers. [To visualise what I mean, imagine you are building a wall of bricks. Your centre biscuit won't be able to move position between layers, but by making this brick formation with the outer ring you'll give the cake stability]
  3. Repeat until the cake is as tall as you desire (mine was about 5-6cm), then cover the entire 'cake' with a thin layer of cream. 
Cocoa Décor Paste
  1. Cream butter and sugar until light and fluffy; add egg whites a little at a time, beating continuously. Fold in sifted flour and cocoa.
  2. Spread a thin layer of paste (around 5mm thick) onto a silicon baking mat (mine is 26 x 40cm). Pattern your paste as desired; freeze.
Joconde Sponge
  1. Preheat oven to 250°C (475°F). 
  2. Whip the egg white and caster sugar to firm, glossy peaks. Set aside.
  3. In a separate bowl, sift almond flour, icing sugar and cake flour together. Gradually beat in reserved egg yolks. If mixture appears too loose, beat in an extra whole egg. 
  4. Fold in 1/3 of the egg whites to lighten the batter, then fold in the rest until just combined. Fold in melted butter.
Joconde Imprime
  1. Ensure your décor paste has set. If it is not solid, the pattern may shift. Once the paste is solid enough, pour sponge mixture over the top and spread evenly.
  2. Bake in preheated oven for approximately 8 minutes. The sponge will cook very quickly, so keep a good eye on it. Sponge is baked when it bounces back when touched lightly.
  3. Remove from oven and cool slightly. Invert cake onto baking paper (so your pattern is facing upwards) that has been dusted with cornflour or icing sugar; remove silicon mat. Once completely cool, cut away burnt/dry edges. Measure the height of your chocolate ripple cake, then cut the joconde into strips approximately 1cm taller. 
Chocolate Mousse
  1. Place gelatine and water in a heatproof glass and stand in a small saucepan of simmering water. Stir until mixture becomes clear; set aside.
  2. Heat milk until warm (a minute in the microwave will do it); pour in gelatine and stir. 
  3. Put chopped chocolate into a bowl; pour milk/gelatine mixture over the chocolate and stir until chocolate has melted. 
  4. Whip cream to soft peaks. Fold 1/3 of cream mixture into the mouse to lighten; fold in the rest of the cream in two batches until just combined. 
To assemble:
  1. Use a circular mould that is larger than your ripple cake. I used a springform tin (without the base). Place the mould around the ripple cake so that the cake is centered. Line the mould if desired [I didn't bother]. 
  2. Take you strips of joconde imprime and place them, pattern side facing out, around the mould. Ensure your imprime is packed in tightly and won't shift. 
  3. Pour the mousse over the cake, making sure to work the mousse into any gaps. Ensuring that your mould won't move, you can gently tap the cake on your bench to get the mousse to fall into all the little nooks and crannies.
  4. Chill cake in the fridge for a minimum of 6 hours. Overnight is preferred. The longer this cake sits, the nicer (and more cake-like) it becomes. 
Chocolate Ganache
  1. Heat the cream in a small saucepan until just boiling. Pour this over the dark chocolate and stir until chocolate has melted. Stir in butter.
  2. Pour the ganache little by little over the top of your cake, making sure it spreads to the edges. Be careful not to pour so much that it will spill over the edges of your cake. 
  3. Decorate with chocolate garnishes. 

samedi 30 novembre 2013

Royal Icing for Gingerbread House Glue

 
Ingredients
  • 1 pound confectioners sugar
  • 3 large egg whites
  • 1/2 teaspoon Cream of Tartar
  • optional: food coloring
Instructions
  1. Combine all ingredients in a medium size mixing bowl and use a hand mixer on high to beat until stiff peaks form. If the mixture seems too thin, add small amounts of sugar until it peaks as desired.
  2. Keep Royal Icing tightly covered so it won't dry out. The Royal Icing will remain pliable enough to use for gingerbread house glue about 10 minutes before hardening.
  3. Optional: Add color to white icing with food coloring.

samedi 23 novembre 2013

Best chocolate cake ever

Ingredients
2 eggs
1.5 dl sugar
4 tablespoons of cocoa 
2 tablespoons of vanilla sugar
100g butter
1 dl flour
1/2 tablespoon of salt

Step by step

- put the oven on 175 degrees

- melt the butter in a pan

- whisp the eggs and the sugar well

- mix all the ingredients together

- pour the dough in a buttered frame

-  bake for 15 to 20 mins depending on how soft you want the cake to be

- let the cake cool down and serve with cream, ice-cream, fruits ect.


Guten Appetit! J


vendredi 22 novembre 2013

Ljuvlig saffranskladdkaka

source: http://stheavenstreet.blogspot.se/2013/11/en-smygstart-av-advent-ljuvligt-god.html

3 ägg
150 g smör
100 g mandelmassa
3 dl socker
2,5 dl vetemjöl
2 msk vaniljsocker
1 krm salt
1 g (2 pkt) saffran

Sätt ugnen på 200 grader.
Blanda socker, mjöl, vaniljsocker och salt i en bunke. Rör ner äggen.
Riv mandelmassan och vänd ner den i smeten.
Smält smöret och rör i saffranet, tillsätt det sedan i smeten. Skrapa ur kastrullen med en slickepott så att all saffran kommer med.
Smörj och mjöla en form med löstagbar kant.
Grädda kakan i mitten av ugnen i ca 18-23 minuter beroende på hur kladdig du vill ha den.
Servera med en klick grädde och med en god kopp värmande glögg!

Glögg- och pepparkaksbollar

source: http://stheavenstreet.blogspot.se/2013/11/forsvinnande-goda-pepparkaks-och.html


ca 30 st
200 g av favoritpepparkakorna
50 g smör
30 g mandelmassa
2 msk glögg

Att rulla i;
100 g ljus eller mörk choklad
ca 10 finsmulade pepparkakor
2 msk kakao

Gör så här;
Smula sönder pepparkakorna och blanda med smöret, mandelmassa och glöggen till en jämn deg. Rulla bollar av degen och ställ kallt.

Smält chokladen i ett vattenbad. Rulla bollarna i den smälta chokladen och därefter i pepparkakssmulorna som blandats med kakao. Ställ sedan bollarna på ett bakplåtspapper. Förvaras svalt.


Och ÄNTLIGEN fick jag användning av chokladsmältaren som jag fyndade för ett tag sedan! Enkel och smidig helt klart!


jeudi 21 novembre 2013

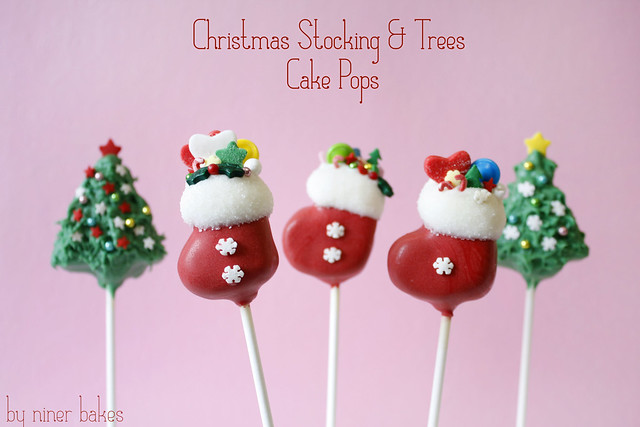
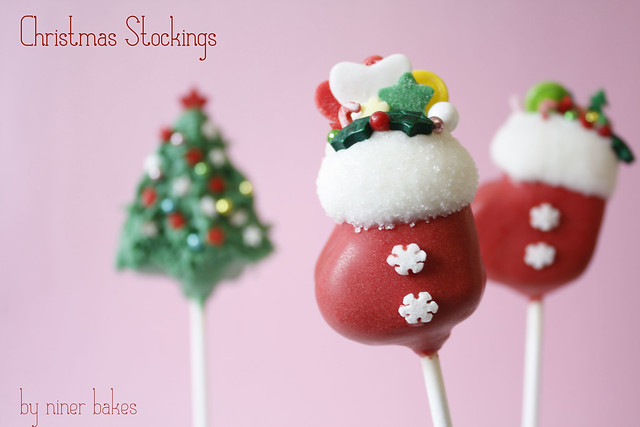
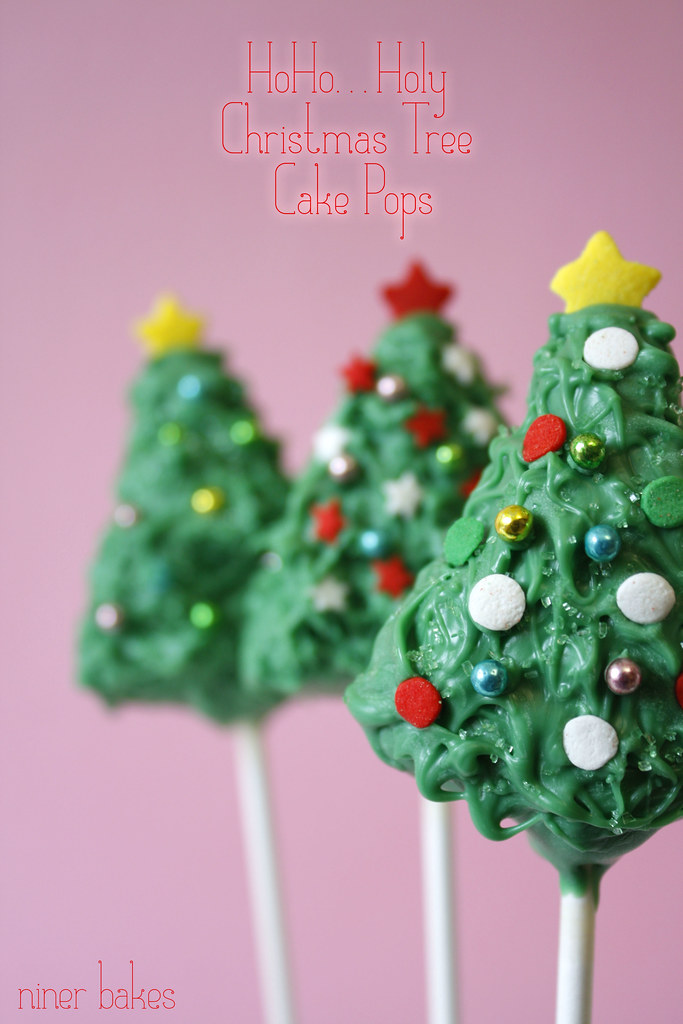
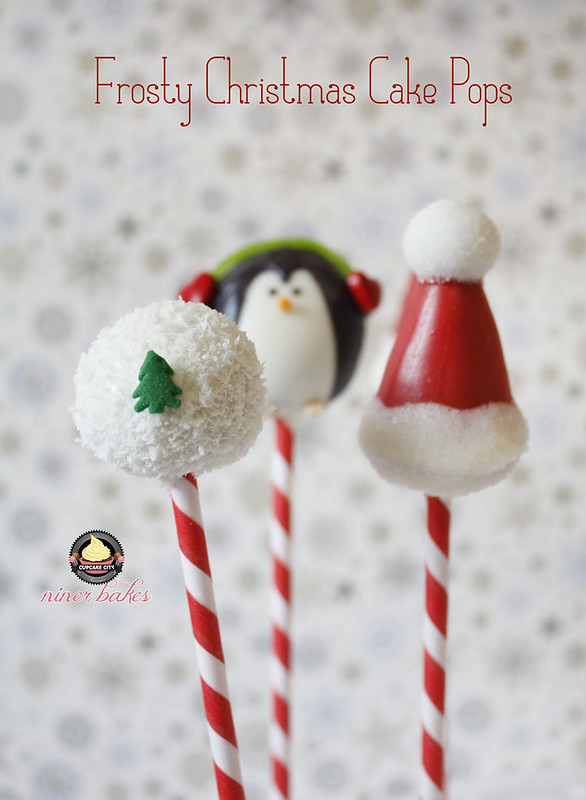
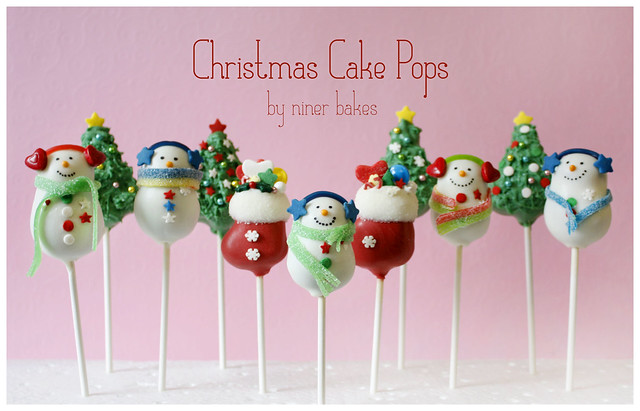
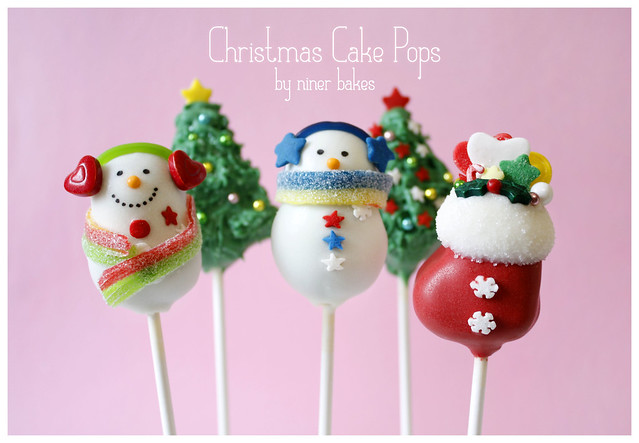
special cake pops christmas source: http://www.ninerbakes.com/2012/11/29/christmas-wonderland-cake-pops-stockings-penguins-santa-hats-holly-leafs-christmas-trees/

Christmas Wonderland Cake Pops: Stockings, Snowmen, Penguins, Santa Hats, Holly Leafs, Christmas Trees and more!

Christmas Wonderland Cake Pops: Stockings, Snowmen, Penguins, Santa Hats, Holly Leafs, Christmas Trees and more!

For the candy bar I have been talking about in my previous post (christmas tree cupcakes tutorial), I created lots of cake pops as well and I want to show you all of course.
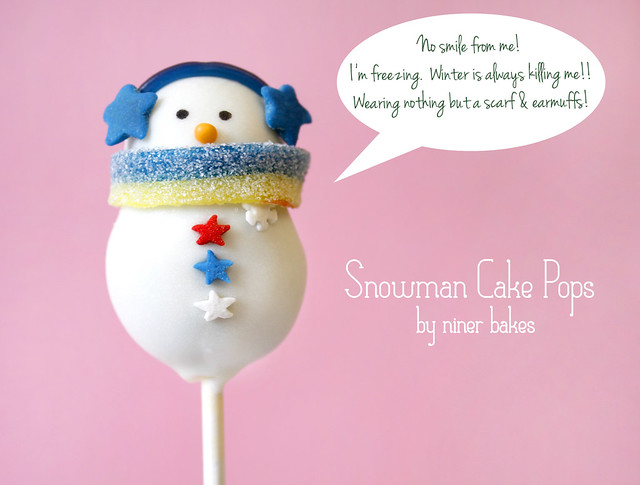
I will start off this post by posting my favourite snowman, even though he is a rather..grouchy one..but still cute =)
The rest that follows though, is all friendly, promise!

Christmas Wonderland Cake Pops: Stockings, Snowmen, Penguins, Santa Hats, Holly Leafs, Christmas Trees and more!

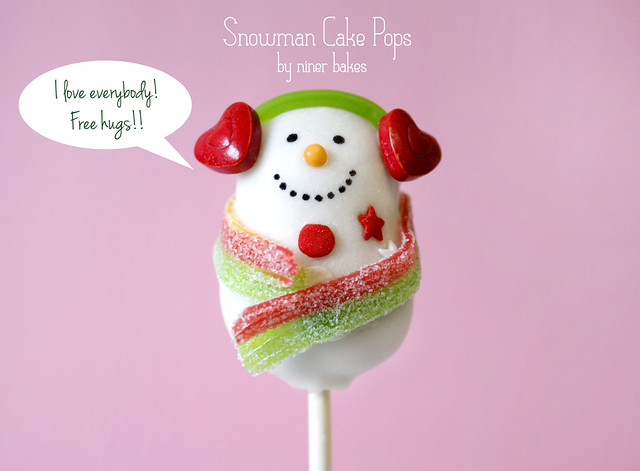
See? :-)

Christmas Wonderland Cake Pops: Stockings, Snowmen, Penguins, Santa Hats, Holly Leafs, Christmas Trees and more! - A Snowman Cake Pop who loves the whole world

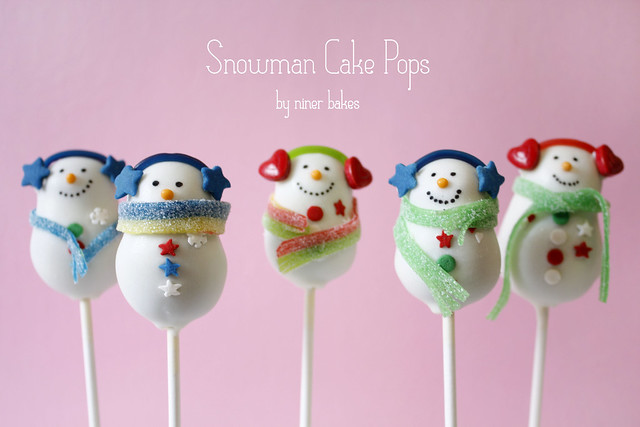
Yay, he were go. Another snowman group!
I have so much fun making these, especially when I see people’s faces when they first see them. It’s a real treat.
I have to be honest, I do have two or three in my kitchen, they are perfect as christmas decorations as well!

Christmas Wonderland Cake Pops: Stockings, Snowmen, Penguins, Santa Hats, Holly Leafs, Christmas Trees and more!

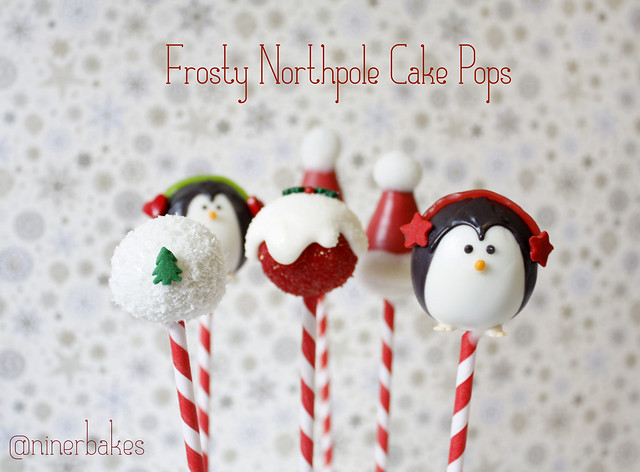
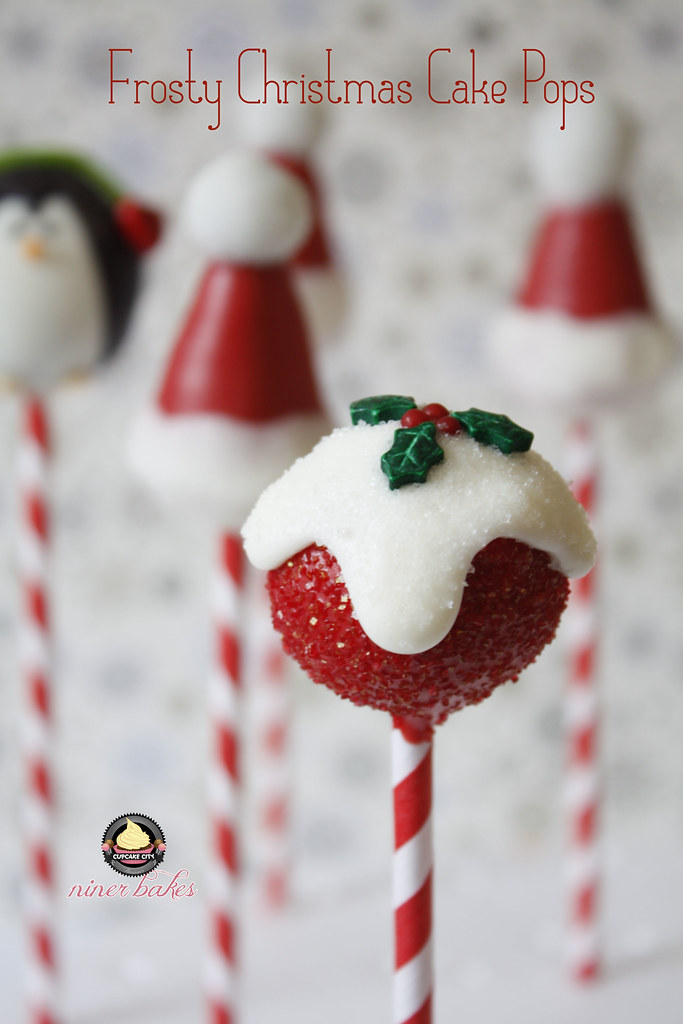
Here’s the northpole crew – candy cane paper straws make the pengiun, holly leaf, santa hat and snowy cake pops even cuter!

Christmas Wonderland Cake Pops: Stockings, Snowmen, Penguins, Santa Hats, Holly Leafs, Christmas Trees and more!

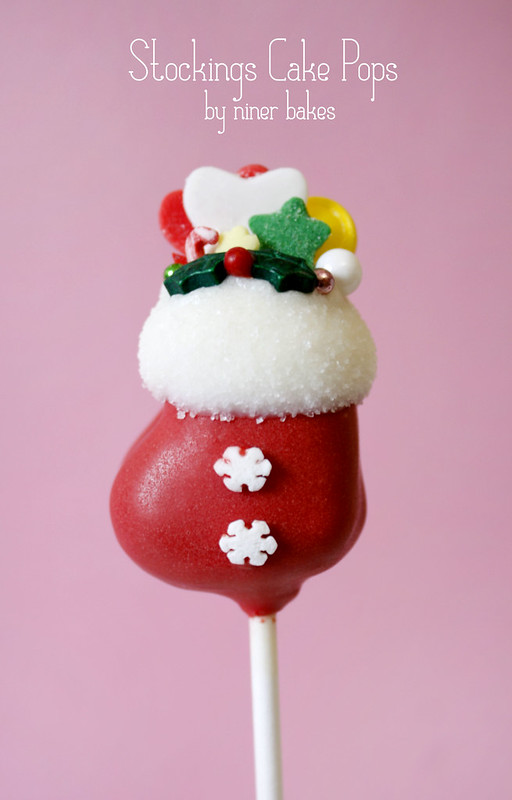
Oh and Santa was already there to fill up the stockings while I was gone. When I got back, they were stuffed with all kinds of cute things!

Christmas Wonderland Cake Pops: Stockings, Snowmen, Penguins, Santa Hats, Holly Leafs, Christmas Trees and more!

The hearts were made out of fondant, I did not have huge candy hearts, so I used fondant and a small cookie cutter for the hearts.

Christmas Wonderland Cake Pops

Please read on to see more photos and a preview for what’s to come next.

And of course, what would christmas be without a traditional christmas tree…or two, or three =)

Christmas Wonderland Cake Pops

Santa Hat, in full effect.

Christmas Wonderland Cake Pops: Stockings, Snowmen, Penguins, Santa Hats, Holly Leafs, Christmas Trees and more!


Christmas Wonderland Cake Pops: Stockings, Snowmen, Penguins, Santa Hats, Holly Leafs, Christmas Trees and more!


Christmas Wonderland Cake Pops: Stockings, Snowmen, Penguins, Santa Hats, Holly Leafs, Christmas Trees and more!


Christmas Wonderland Cake Pops

Christmas Tree Stocking Snowman Cake Pops

Frosty Christmas Winter, Penguin, Holly Leaf and Santa Hat Cake Pops - Snowman Cake Pops


Guys, I hope you liked my little christmas cake pops collection. It was 1.5 weeks full of work and stress but it was so worth it – this is when I know: I love what I do!
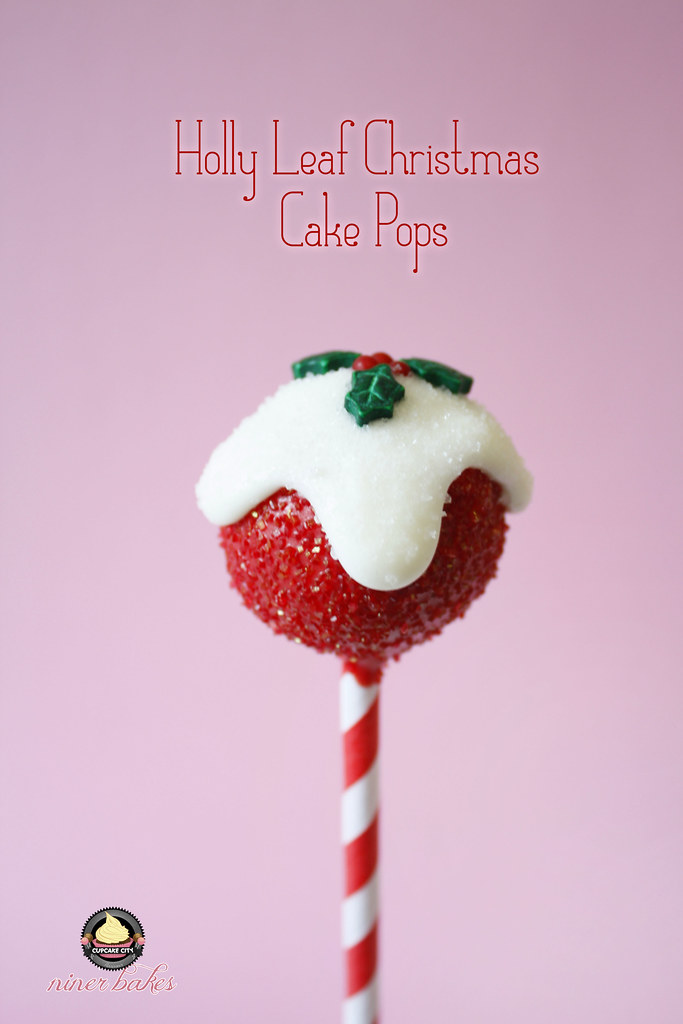
So, in the next post, I will show you how to make these Holly Leafs Cake Pops:
Christmas Wonderland Cake Pops: Stockings, Snowmen, Penguins, Santa Hats, Holly Leafs, Christmas Trees and more!

Christmas Wonderland Cake Pops

vendredi 8 novembre 2013

Brioche

Ingrédients
  • 470 g de farine à brioche (3 cups 1/3 sans balance)
  • 50 g de sucre (1/4 cup environ)
  • 3 œufs battus en omelette
  • 1,5 cuillerée à café de levure sèche (1,5 tsp)
  • 1,5 cuillerée à café de sel (1,5 tsp)
  • 125 ml de lait environ
Préparation
1-Mixer au robot batteur jusqu'à obtenir une pâte lisse et homogène, avec 2 trucs: 1/ s'arranger pour que la levure ne touche pas directement le sel et 2/ ajuster la quantité de lait pour obtenir la bonne consistance ni trop molle ni trop dense
2-Couvrir et laisser doubler de volume dans un endroit tiède et à l'abri des courants d'air (soit on attend, soit on met au four fonction étuve à 30°)
3-Quand la pâte a monté, la pétrir brièvement. Étaler la pâte puis la plier en quatre; l'étaler puis la replier 3 fois de suite
4-Lui donner une forme allongée pour la déposer dans l moule à cake tapissé d'un papier cuisson
5-Laisser reposer 1h environ le temps que la pâte regonfle et préchauffer le four à 180°. Badigeonner d'un peu de lait et cuire 25 mn environ.